Trestle Building My Way
I don't know that there is anything
special about the way I build trestles but building curved ones does
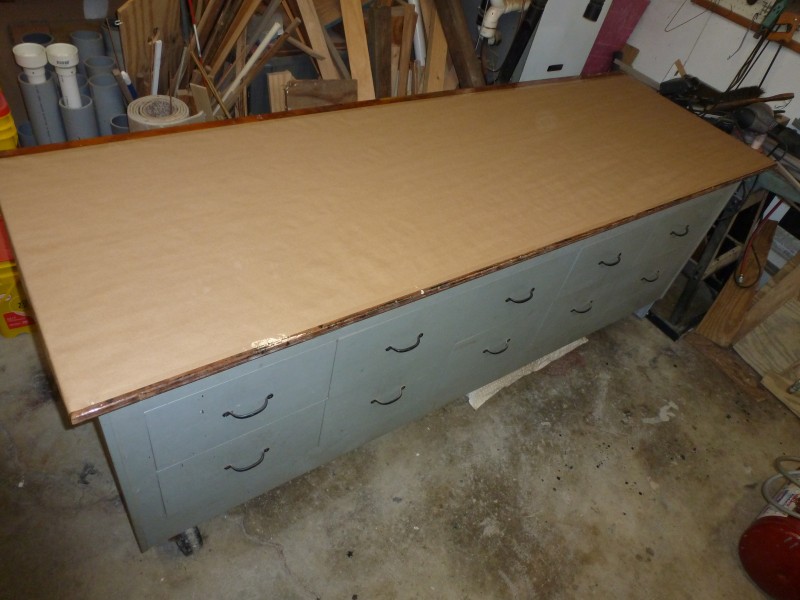
require a different technique so I'll show how I did mine. I started
with my bare track building bench and taped a piece of brown craft paper
over it.
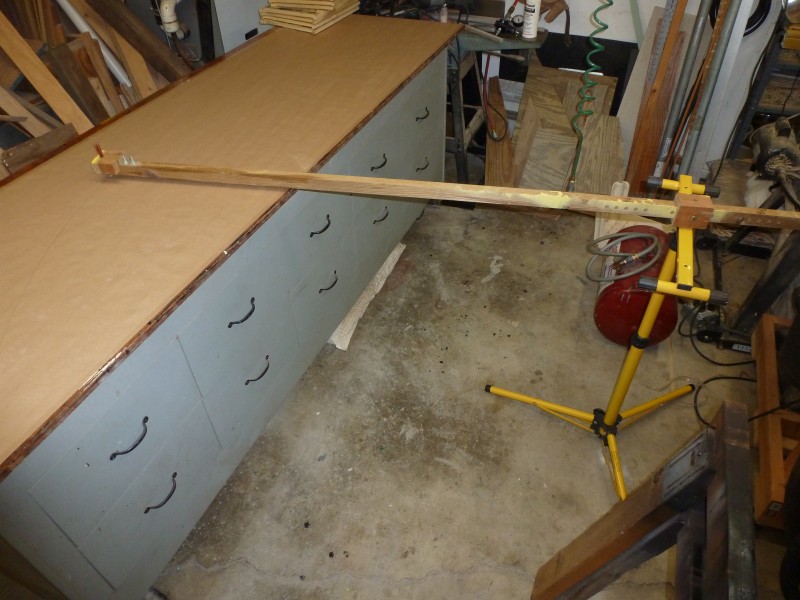
Next
I marked the center line of the curve. This was done using a home made
trammel that I made early on when I was cookie cutting PT plywood for
road bed. It still comes in handy for laying out curves even on the
layout. It's just a very straight 2x2 ten feet long. At the end where
the carpenters pencil is in this photo is a universal mount where I can
attach a Roto-zip tool. The pivot point is adjustable with center line
spacing at 4 1/2', 5', 6' and 8'. The series of five holes seen just
ahead of the center point are repeated for each of the basic radius
settings. The inner tow establish the rail positions and the outer two
were used when I was laying out roadbed to mark the outer edge of the
ties. It's not necessary to have anything this elaborate, one only needs
a stick with a hole for a pencil at one end and a nail in the other set
apart at the radius you want. The trammel is set on a tripod stand that
was work light stand. Once the center line was marked, marks that would
locate the bents were marked starting at one end and marked at 6"
intervals. The edge of the trammel was then used to create a line that
was parallel to the radius.
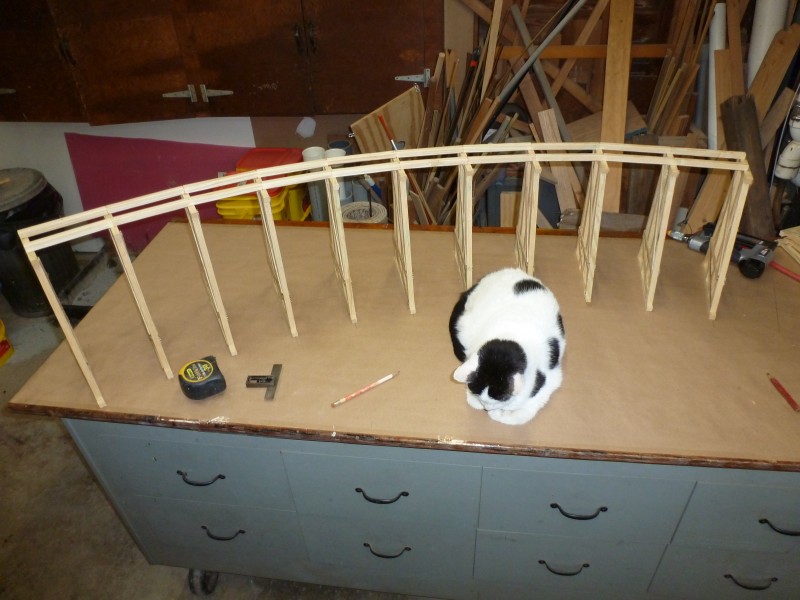
The
trestle bents when they were assembled were marked with a center line
both at the top and bottom. The bents were then placed on paper where
marked and were tacked in place using a pin nailer as shown below. Once
that was done I started adding the joists connecting the bents at the
top. It was necessary to determine their lengths first. The ones on the
inside of the curve are a bit shorter than the center line spacing and
the ones on the outside a bit longer. Technically the ends should be cut
at an angle but I found that at a five foot radius the angle was so
slight and to be unnecessary as there was plenty of overlap onto the
bents and the slight gap on one side wasn't that noticeable. The joists
were spaced to fall under the rail and centered on the bents. They were
installed with both pin nails and Titebond III glue.
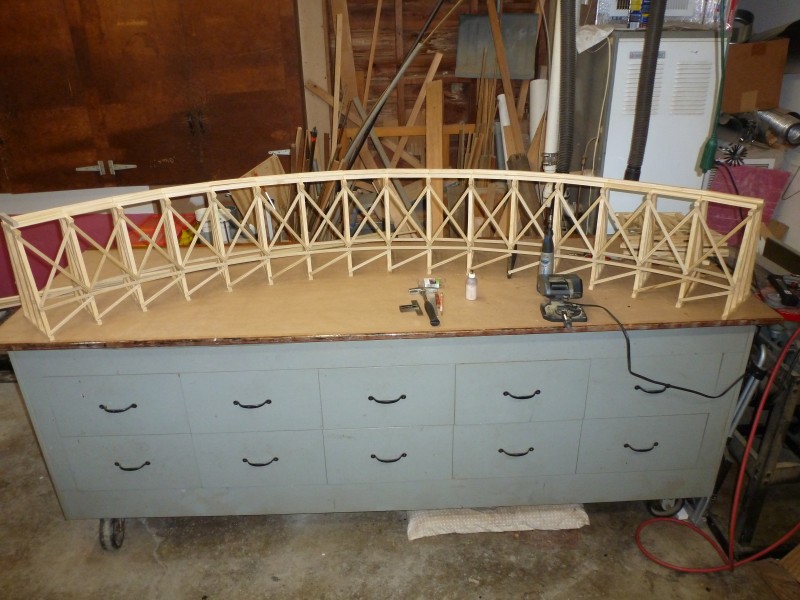
Once
all of the bents and joists were installed The cross bracing and lower
level stringers were installed. Again the length of the cross braces
were determined by a bit of trial and error then once the correct length
was found multiples were cut and installed. On these I attach them using
19 gauge x 1/2" finish nails. I drill slightly under size holes for
these then apply glue and push the nails home with needle nose pliers
that have a slot cut in them to help hold them straight. I leave the
heads stand proud of the surface which gives a faux bolt head
appearance. all of the wood used in this trestle was milled from
standard pressure treated (non ground contact rated) wood. The key to
this is to buy the stock well in advance taking care to select pieces
with finer grain, the least amount knots and preferably as straight as
possible. Once home clamp it down to a flat surface and allow it to dry
thoroughly, turning occasionally. Some pieces in spite of you efforts
will still warp and bow a bit but most will be usable. The stringers
were made as long as possible then threaded through the bents and bent
and fastened as I go. The photo below shows the bracing and stringers
done for one side. The Bents are made from 1/2" x 1/2" stock and the
cross bracing and stringers made from 1/4" x 1/16" stock. The 1/2" stock
is milled on a table saw and the 1/16" stock is ripped on a band saw.
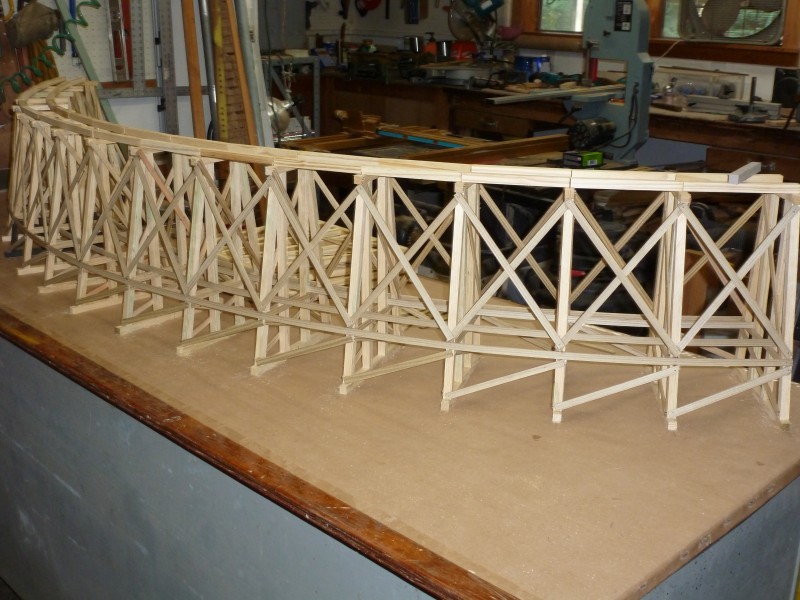
The
next photo shows the other side with all the bracing and stringers in
place. Note that the design is simplified from the real world. A
prototype trestle would have the cross bracing with the diagonals on
opposite sides of the legs. That makes fastening much more difficult and
since the thin wood is flexible I mount both braces on one side and just
bend them past each other. From a normal viewing distance this
difference isn't that noticeable. At this point the trestle is ready for
stain. I know some folks like to stain first to eliminate places that
won't stain due to glue but I trust the glue to make a better bond
without stain on it. The staining could be done by hand but it would be
very time consuming so I roll my track bench outside and apply using a
paint sprayer. The 50-50 mix of stain and linseed oil tends to take a
while to dry so I leave it outside as long as possible and usually try
to do it on a sunny day to speed drying.
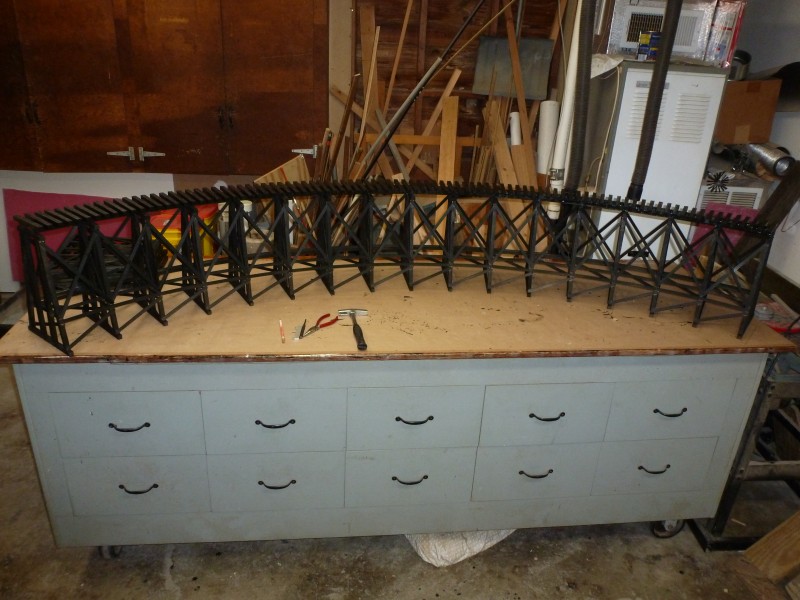
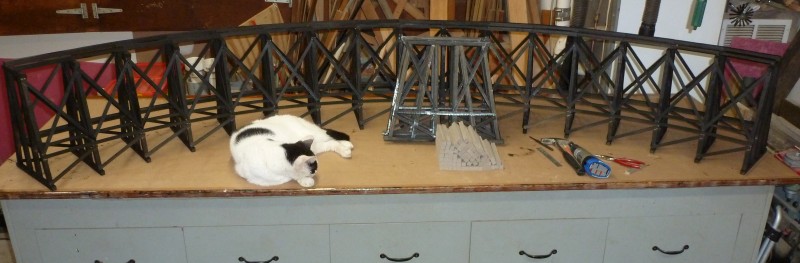
The
next photo shows the trestle after staining. Also on the bench, besides
my sleeping inspector, are the doubled bents that will support the
bridge that will be attached to the end of the trestle and a stack of
bridge ties. These are Trex and unlike the ones I use for normal track
work are ripped to 1/2" x 1/2" since they are totally visible when
installed.
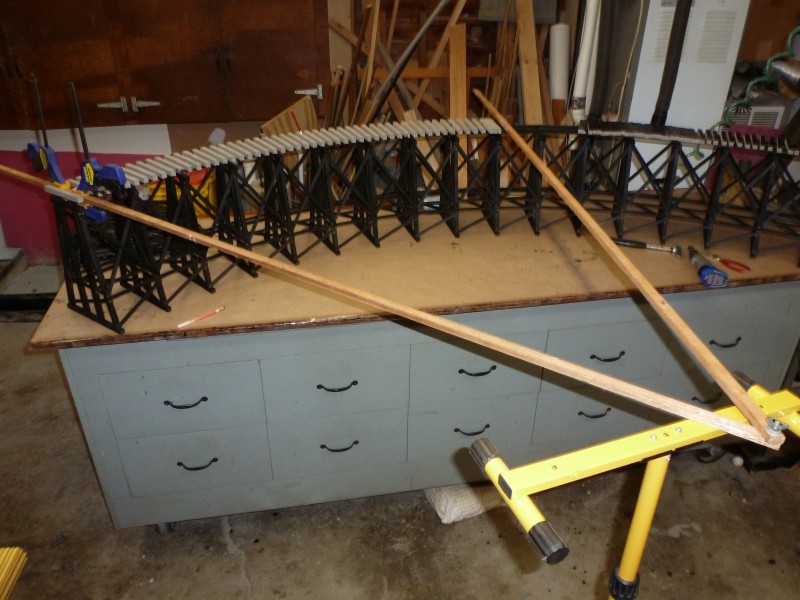
The
next photo shows the ties being installed. I have terrible luck whenever
I try to do something like this by eyeball. No matter how I try they
usually end up drifting off from the proper angle so I came up with the
jig shown below. Its just two 6' long pieces of strip wood fastened
together at one end with a carriage bolt and wingnut. Near the opposite
ends there is a mark at the 5' center line. The first tie is attached at
one end then one side of the jig is clamped to the trestle joists. The
wingnut is adjusted just tight enough for a friction fit and the loose
end is supported but not attached to the tripod I used for the trammel
earlier. I space the ties using another tie and fasten one end of the
tie then use the jig to set the correct angle before fastening the other
end. The ties are fastened to the joists using 18 gauge 1" stainless
steel finish nails using an air nailer. Since the joists are spaced just
below the rail center line the nails end up below the rail and
invisible.
The next photo shows the ties
all installed and stained, ready for the rails to be spiked down.
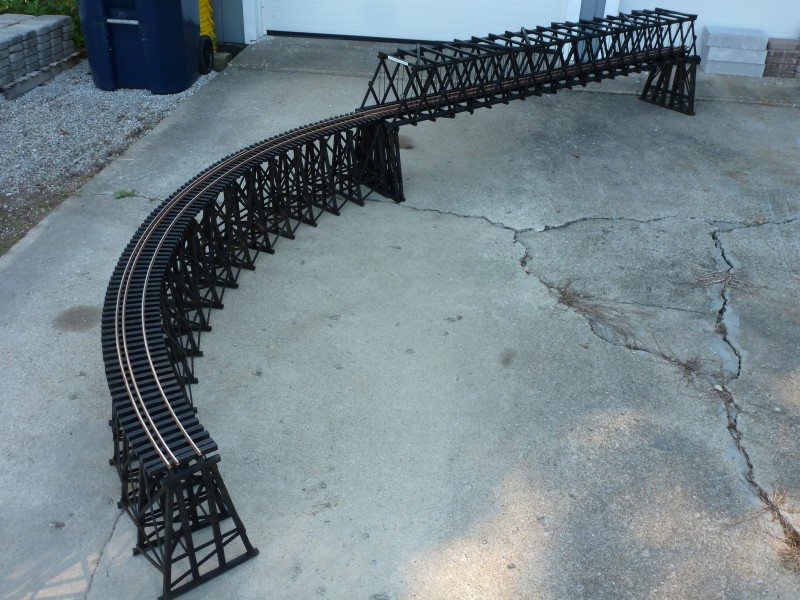
I
didn't take a photo after installing the rails while still on the bench.
It's shown below when I moved it outside to check the fit with the
bridge it attaches to. The guard rails for the narrow gauge still need
to be installed and that was done back on the bench. To remove the
trestle from the bench I just start by prying up one edge of the bent
bases where they are pin nailed and once one side is loose it can be
pulled off leaving the pins in the bench which I will remove with a pair
of pliers.
No
rocket science was involved, I hope the information provided was
helpful. If you have any question feel free to email me.