Illuminated Marker Lamps
I always liked the idea of
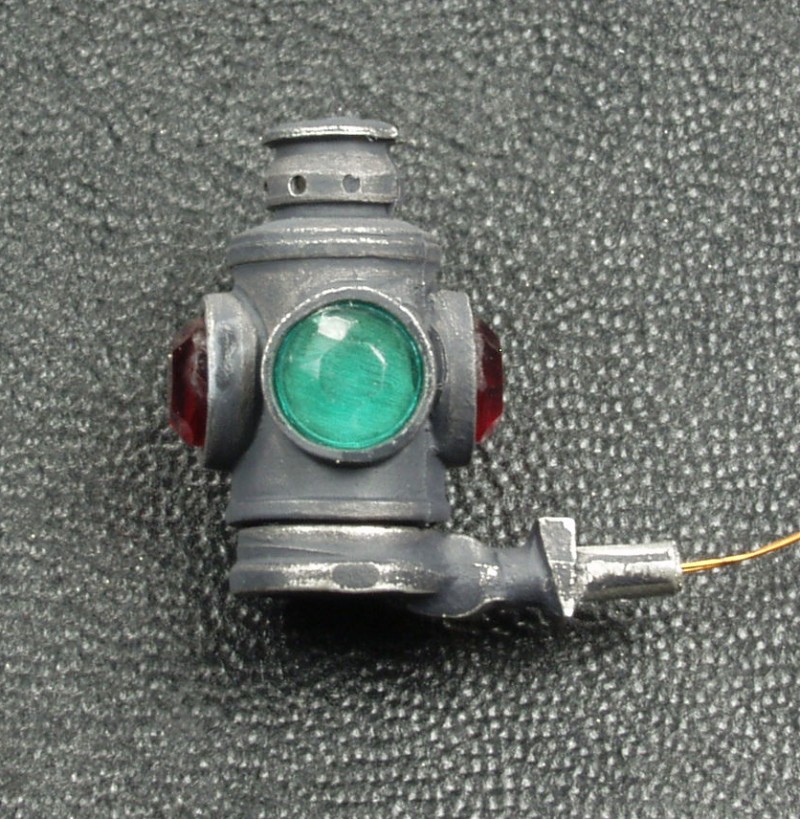
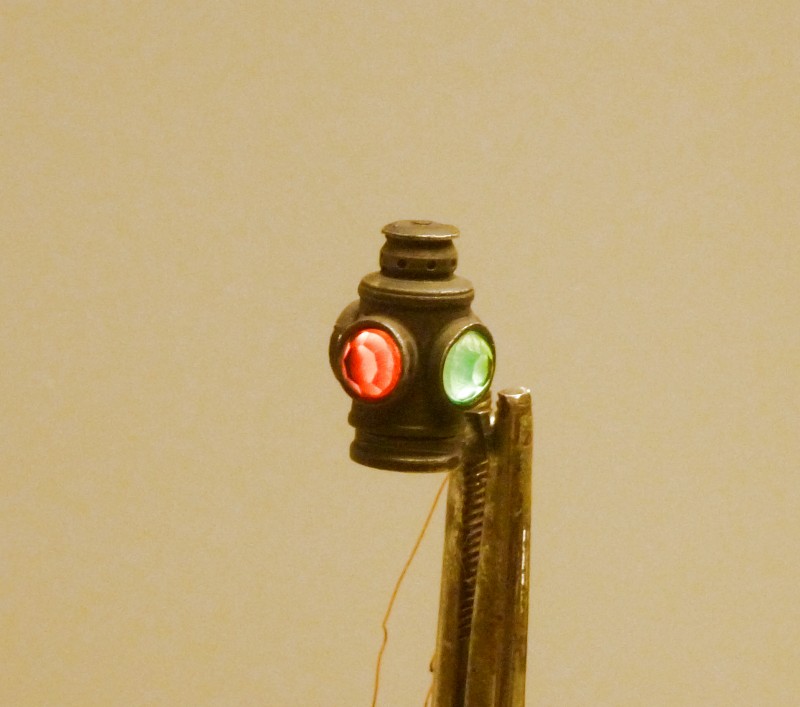
illuminated marker lamps on cabooses and other pieces of rolling stock
but never cared for the way various manufacturers have done this over
the years. The markers either look way oversized for the scale or have
rather ugly and oversized wires connecting them to the car or both. I
have used Ozark Miniatures cast white metal marker lamps on cars for
years and they have a nice scale appearance and are molded hollow so
that they could be illuminated but using an incandescent lamp would
require using external wires to connect them ruining the idea that back
in the day these were lit buy kerosene. Through hole type LEDs could
also be used but again the wiring issues rears its head. At some point I
thought about using surface mount LEDs but how to diffuse the light from
one of these as they tend to be very directional. It was then I hit on
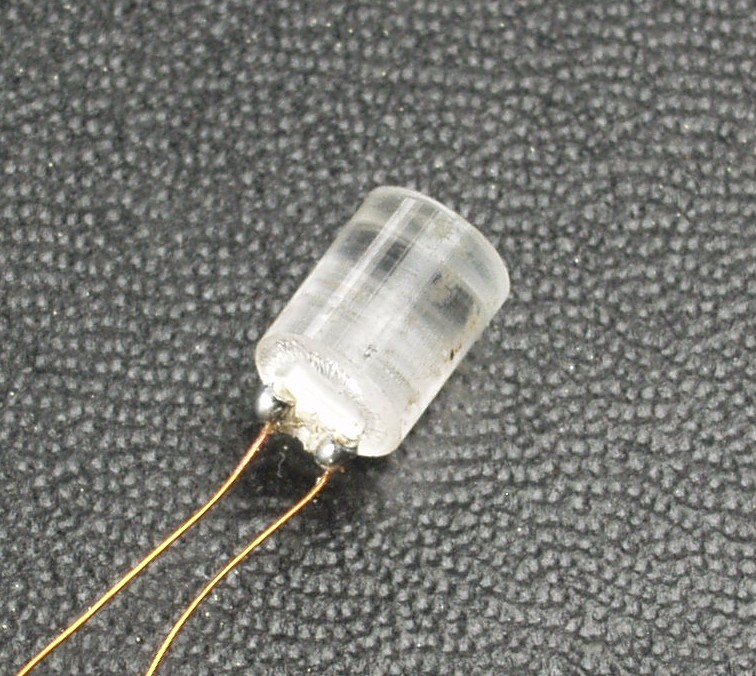
the idea of turning a piece of clear plastic down to fit inside the lamp
casting and gluing the LED to the bottom of the plastic with the
emitting side facing up towards the plastic. Seemed like it could work
but what about the wiring. Well LEDs are very low current devices so the
wire could be really small. I settled on some # 60 gauge magnet wire.
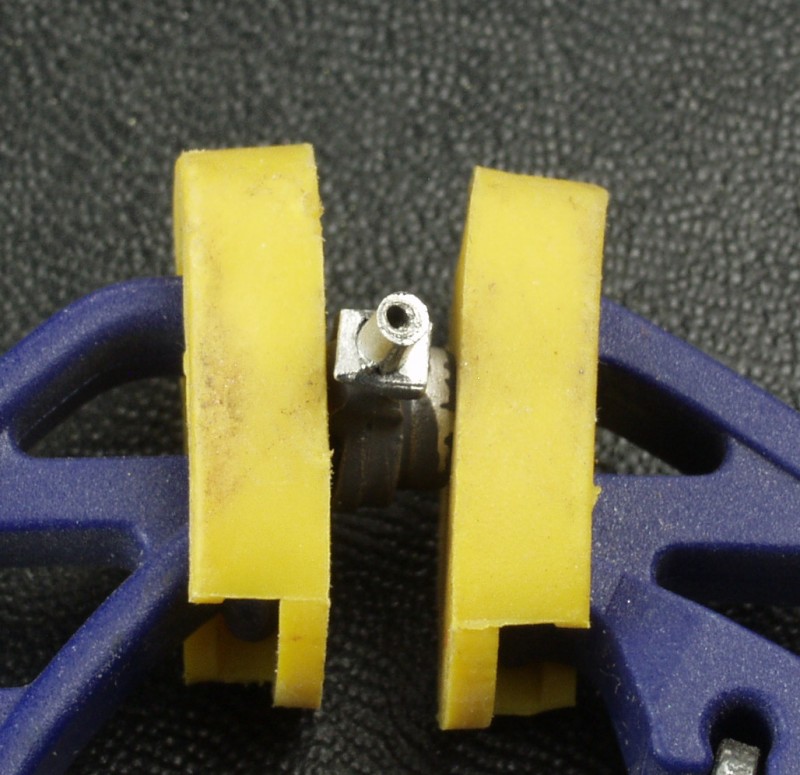
This was small enough in diameter that I could thread it through the
mounting bracket assuming I could drill a hole through it. So I acquired
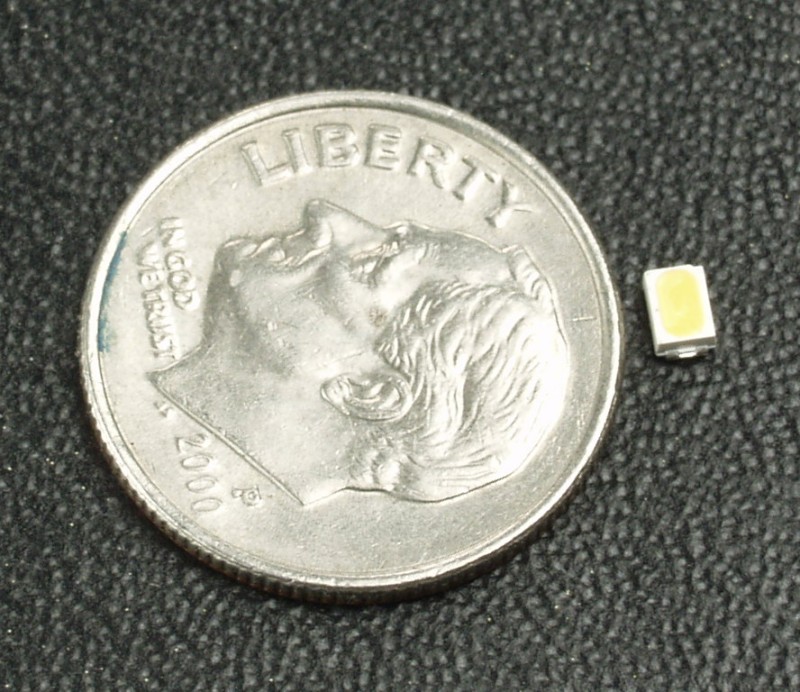
some surface mount LEDs in a warm white color. These I believe were 1206
size (.012" x .008") and as you can see below are quite small.

